Let's Build a CVA Hawken from the 1980s Part 2 | Wood Shaping
We are building a 20th-century muzzleloading classic, a CVA Hawken Kit in this video series. This kit is not mine, it's owned by a local family who asked me to finish it after their father had passed before he could finish it.
Wood Shaping
In this video we start with some forestock shaping after deciding we’ll wait on the butt plate because it’s not fitting great on the underside. I want to bring the amount of wood on the stock down quite a bit to make a sleeker, lighter rifle.
At a glance, the goal with this pass is to bring the wood to the same level as the brass hardware. I’m using a large flat file and a finer flat file to modify the forestock from the lock mortice up to the nose cap. With this process, I’m enhancing the curve of the forstock from the barrel channel to the underside of the stock. As the stock comes up to the barrel channel, I want the wood to be 1/16th to 1/8th of an inch thick. This gives the rifle a lighter feel while retaining the classic Hawken strength.
Be careful as you work the wedge plates, I caught myself focusing on the wood and not the hardware and nearly destroyed a screw. I was able to get everything apart fine but this serves as a great reminder to not lose focus on the whole piece as you work.
I like to work the forestock all the way around for this step. I start on the lock side, then rotate to the underside before shifting to the sideplate side to finish up this treatment. As we focus on the entire length, you’ll find it easier to get a nice taper from the lock to the nose cap. If you focus in on a 6” section, you’ll find ‘waves’ in the stock from your file work.
Modifying the Lock Mortice
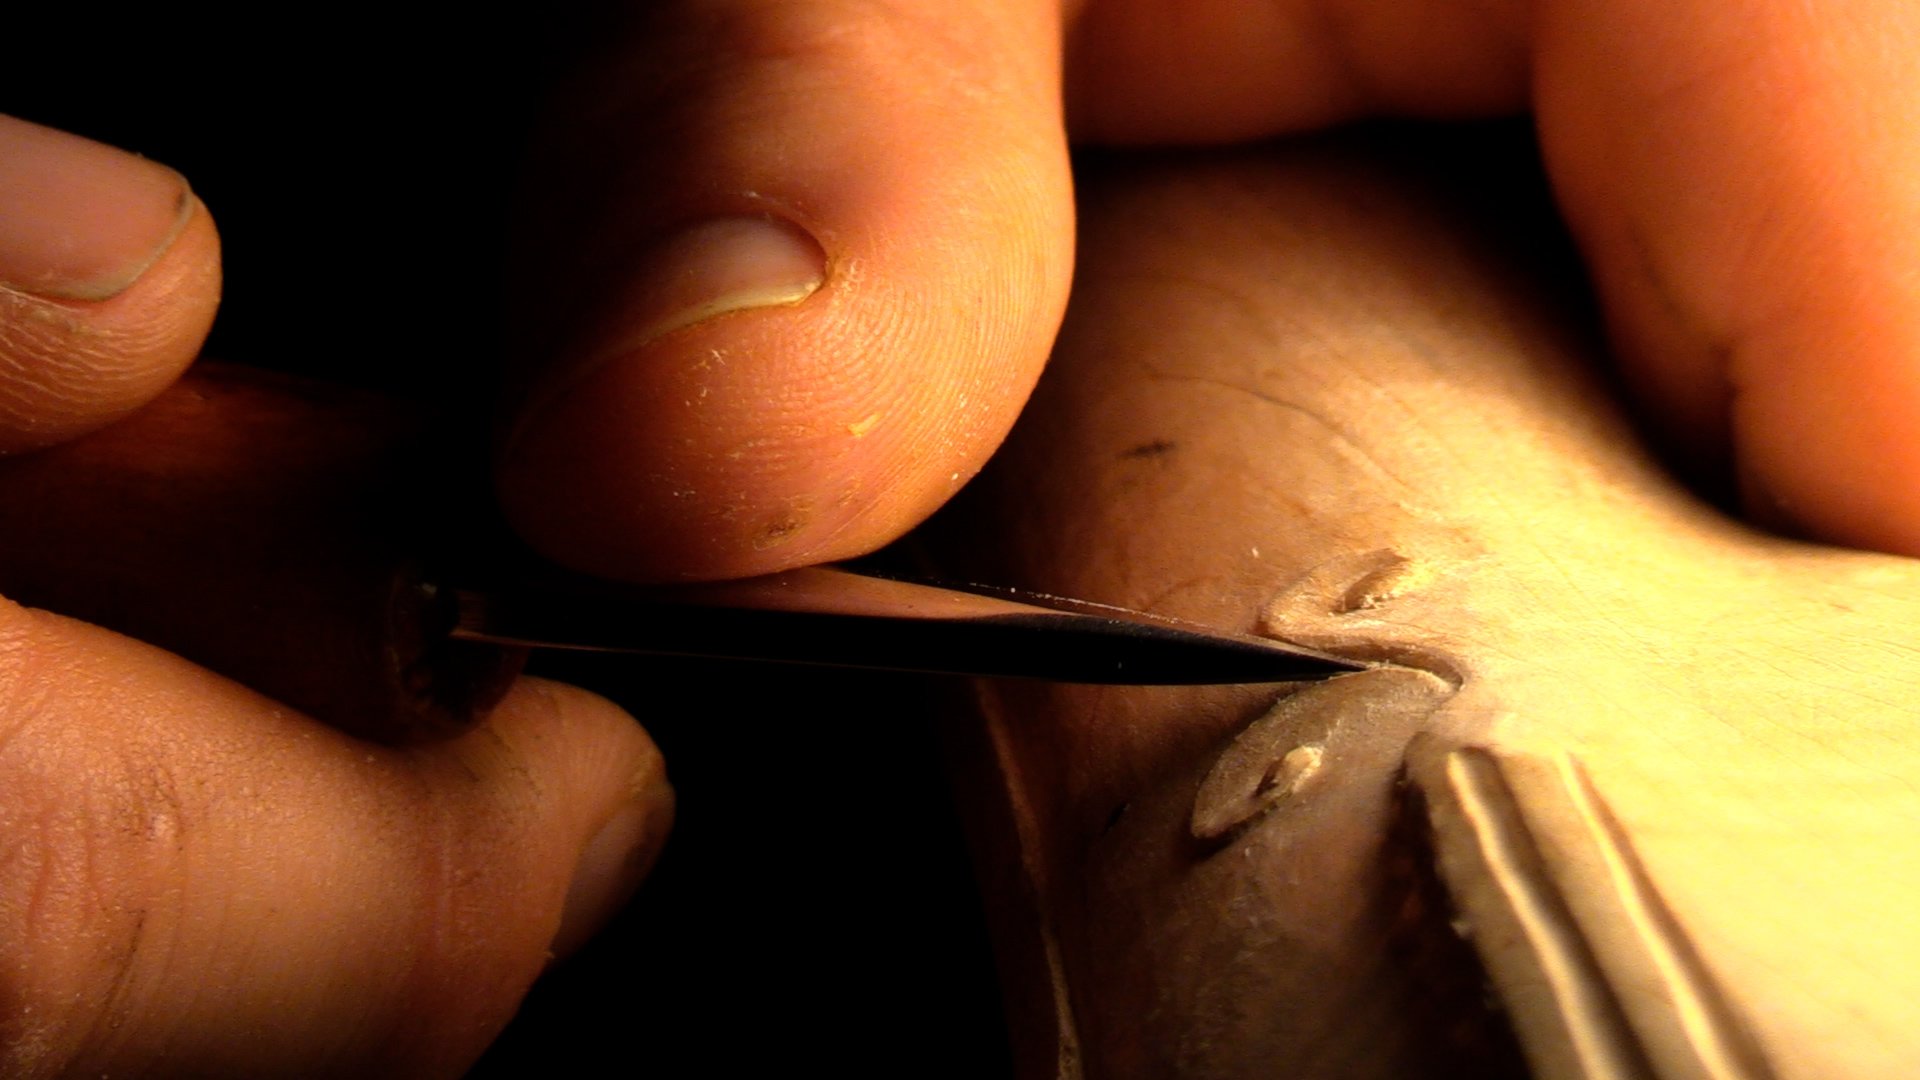
Once the forestock is shaped and even, I begin to modify the lock mortice to match an original Hawken more. I’m by no means an expert, but I enjoy trying when I can.
Like the rest of the stock, the lock mortice is very bulky. I start by sketching a baseline referencing a photo of an original. Then, I use a half-round file to reduce the curve back and down, simplifying the clean-up process as we move forward.
When I have that area cleaned up, I take the curve from the lock mortice back on the stock until it aligns with the front trigger guard which leads us nicely into shaping the underside of the stock back at this mortice.
Much like the forestock and its hardware, I begin matching the thickness of the wood to our trigger guard as it is set in the stock with the screw. Remember, you’ll want to mount any hardware you are working on or around into the stock to ensure it matches with the final level of the stock.
Around the lock mortice and the trigger guard inlet you’ll notice some excess wood. In my opinion, the profile of this stock section is very round, I took the height down so we have an even oval profile that fits well in the hand. Details like this are best derived by your handling of the stock and making it to your preference, using photographic reference, or a mix of both to get the results you want.
By this time, the baby is ready to play and it’s time for me to clean up and get back to the house. In the next video we’ll tackle the side plate mortise and continue working our way back the stock.