Let's Build an InvestArm Plains Pistol Kit Part 1: Unboxing and DryFitting | Caplock Muzzleloader
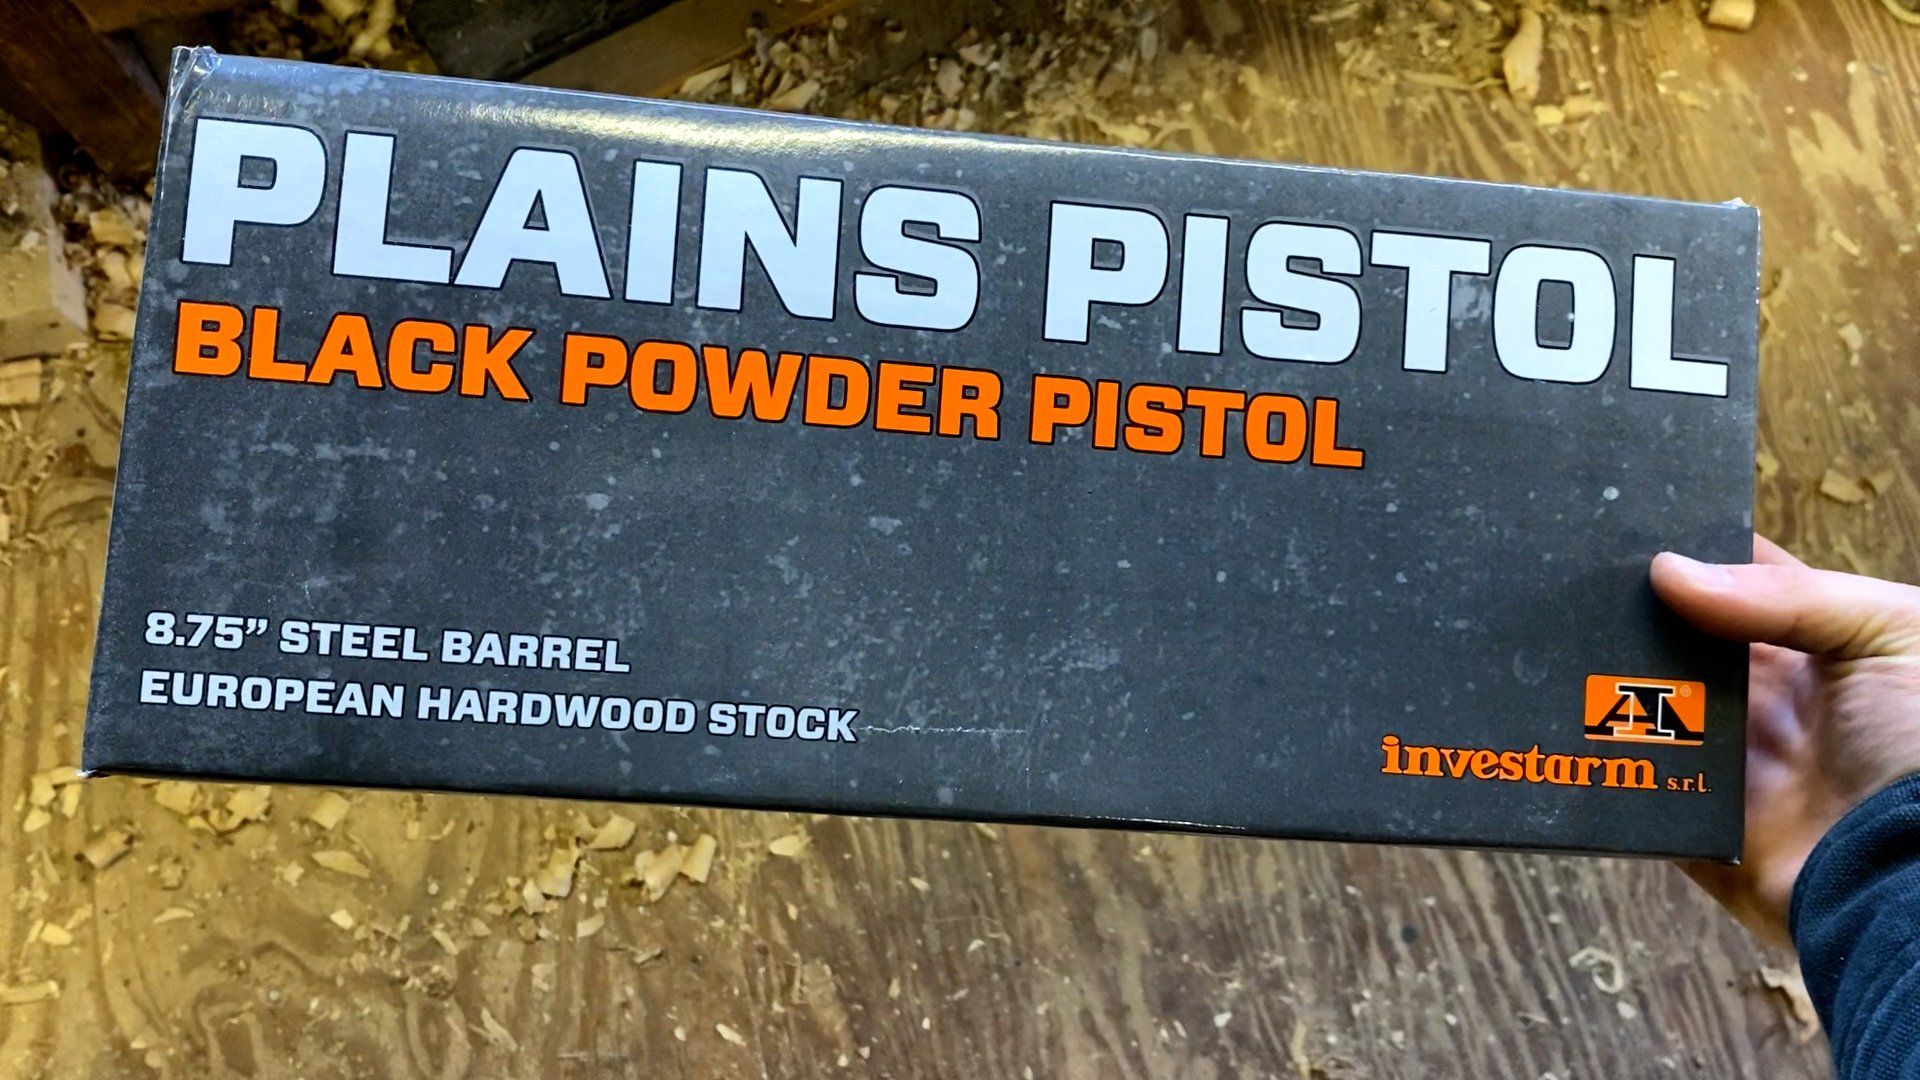
Today we're back in the shop for our first Winter 2023-2024 project! This kit is a continuation of the Lyman Plains Blackpowder Pistol, now made by InvestArm of Italy.
This series will cover the construction of this muzzleloader kit, the tools needed, and several different processes of wood finishing and metal finishing.
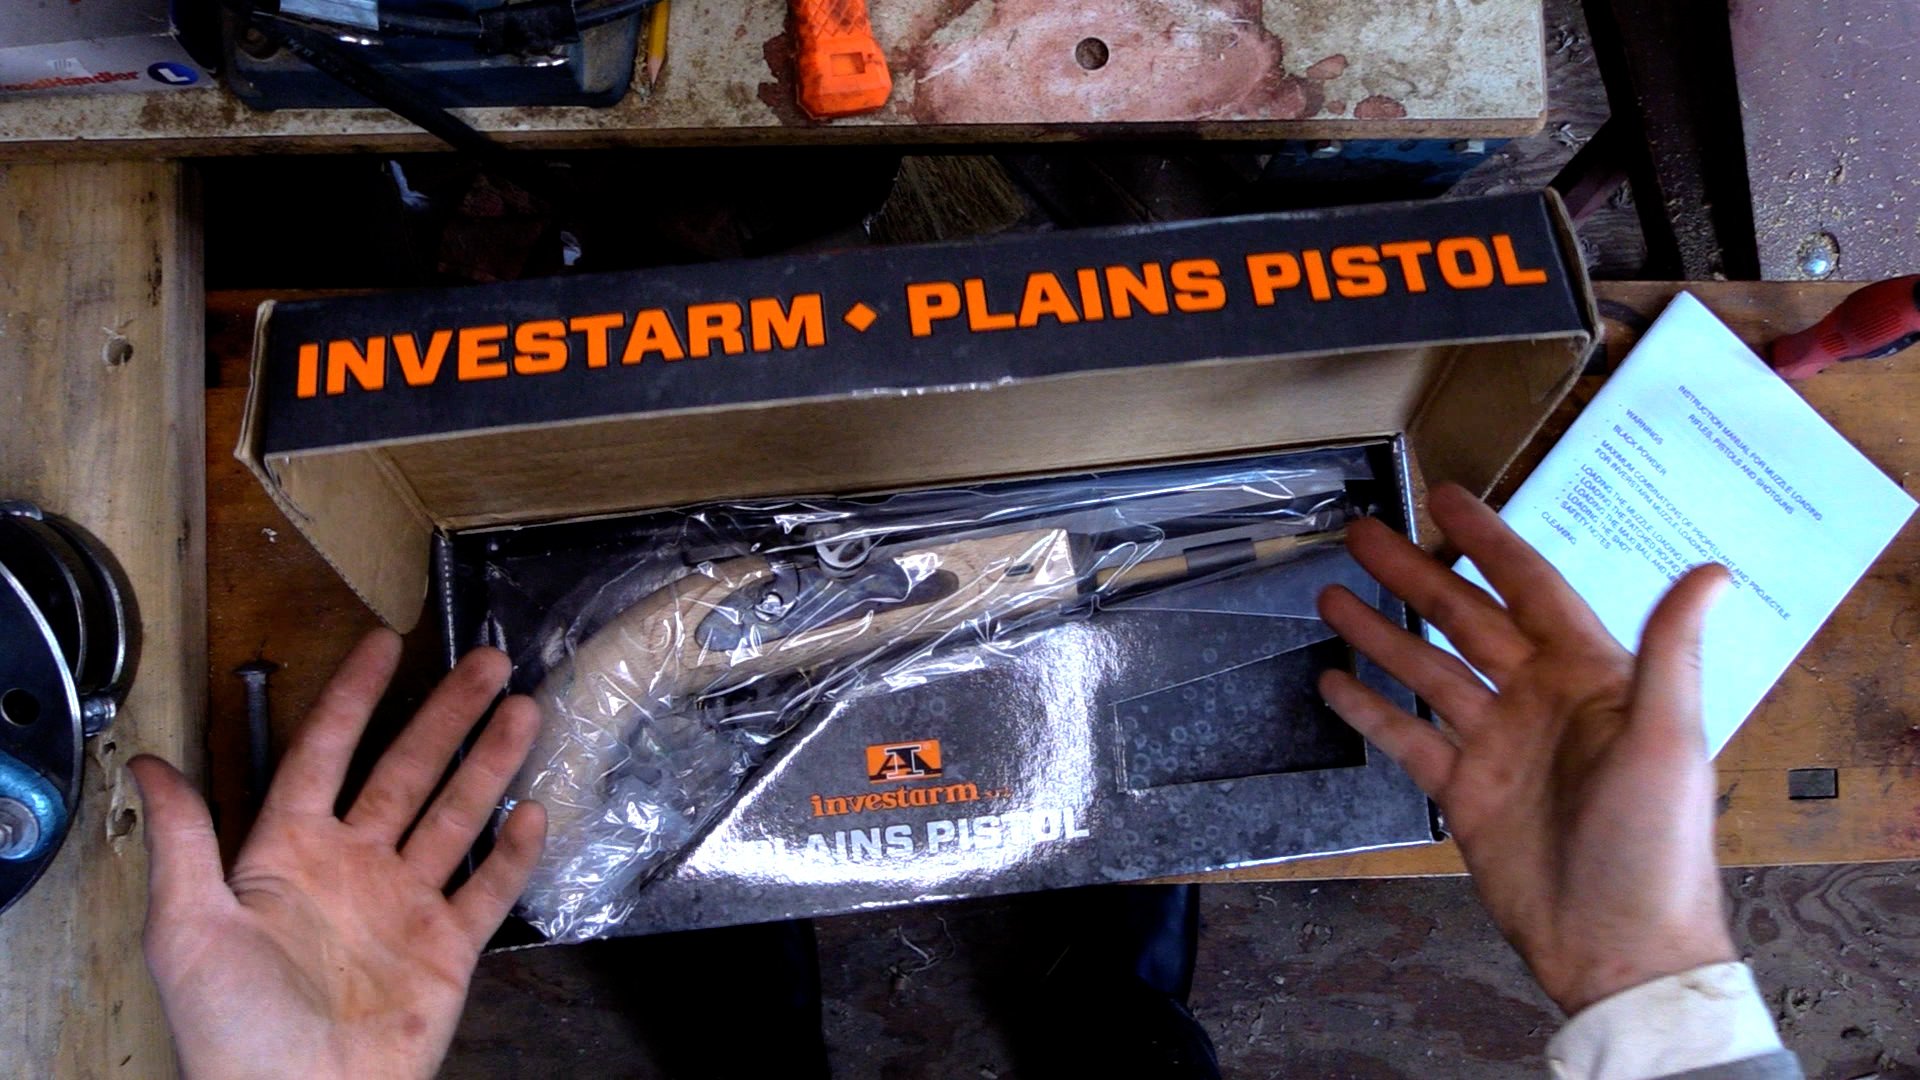
This kit was sent in by Muzzle-Loaders.com


I’ve built several of these Italian kits on ILoveMuzzleloading.com, but I’ve always done it with my shop tools, handed down by my father. For this kit, I’m going back to basiscs and only using handtools commercially available to other enthusiasts today. All of the hand tools for this project have been purchased at Harbor Freight, known for having the cheapest tools around, to show how a kit can be finished nicely on a budget.
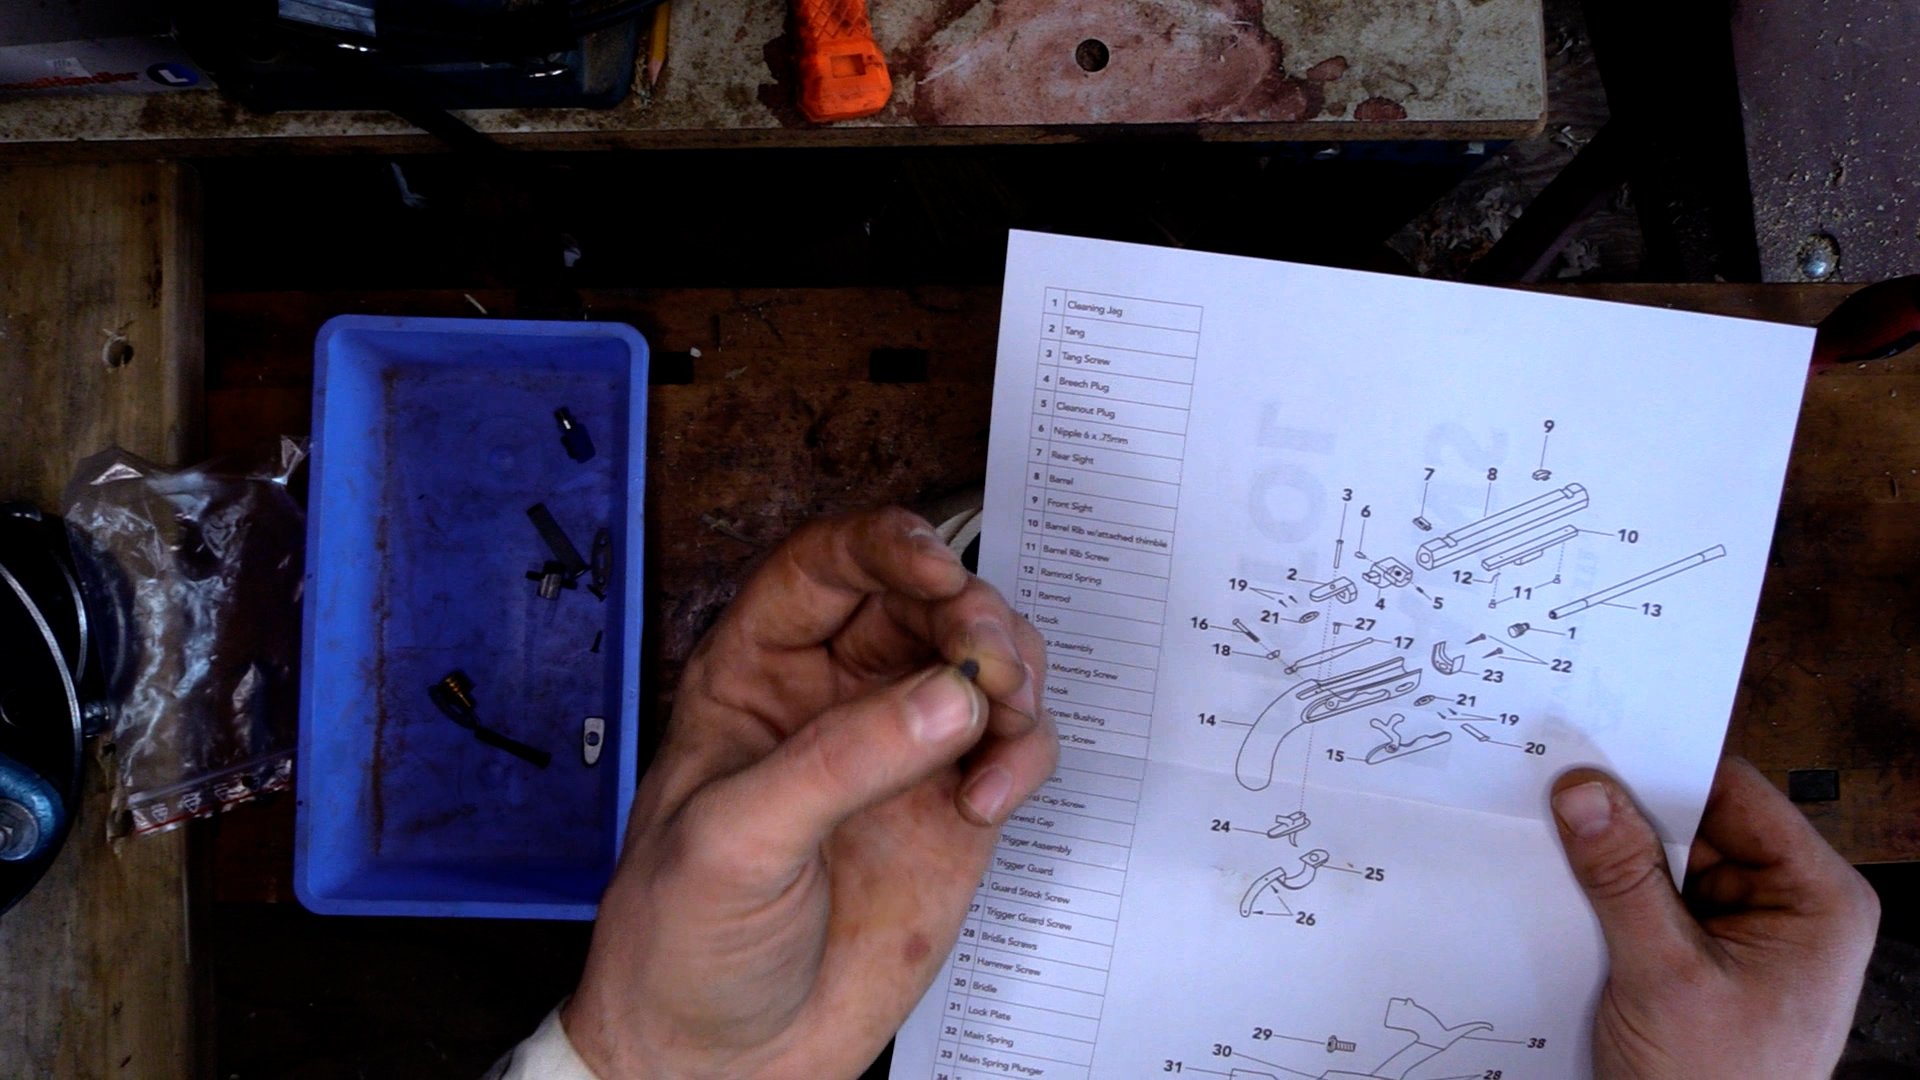
In this video, we're unboxing the kit to get a detailed look at each of the parts before we move onto assembly. I talk about each of the Hawken parts, their purpose and place on the muzzleloader, some of my top tips for muzzleloader kit building, and my recommendations on what to research before starting. In the next part of this series, we will cover some of the tools needed for this project and then we will move onto fitting the parts.
Information about the kit can be found on the InvestArm Website here.
Review So Far
Part 1
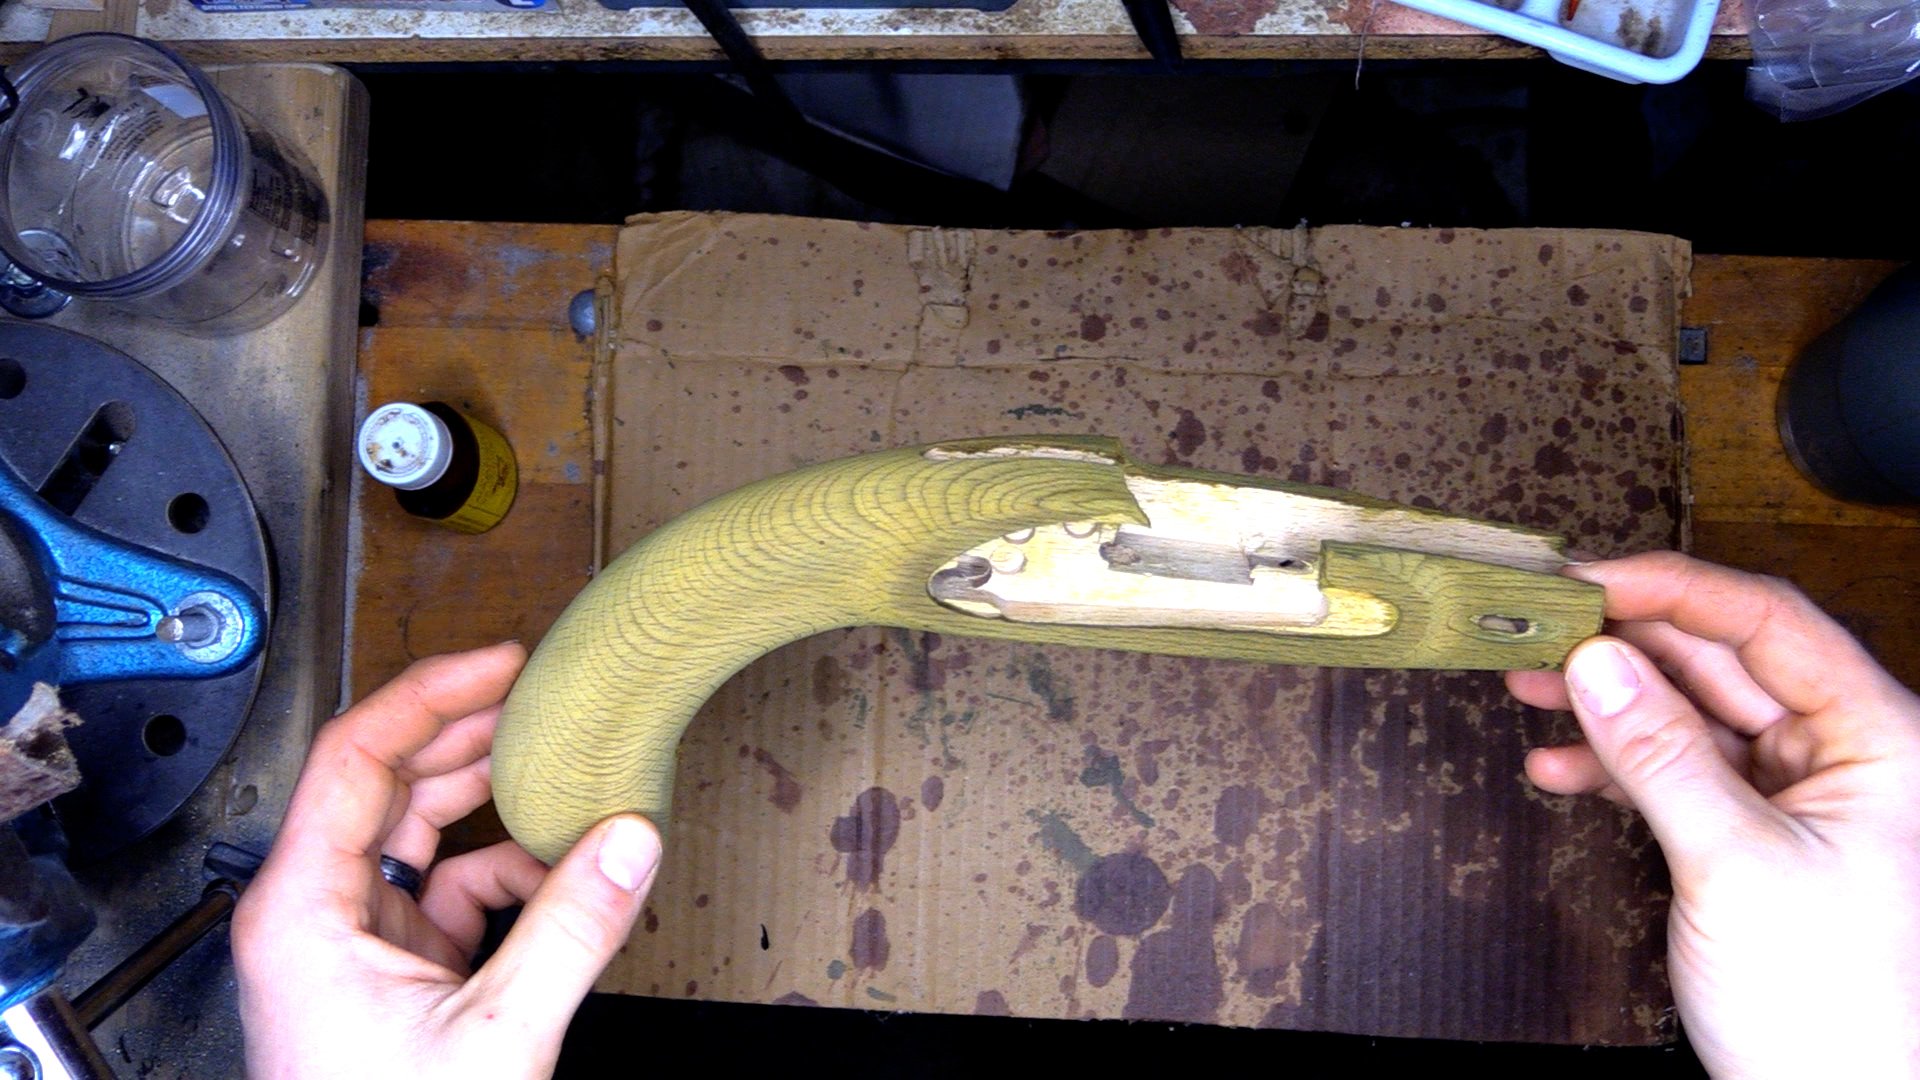
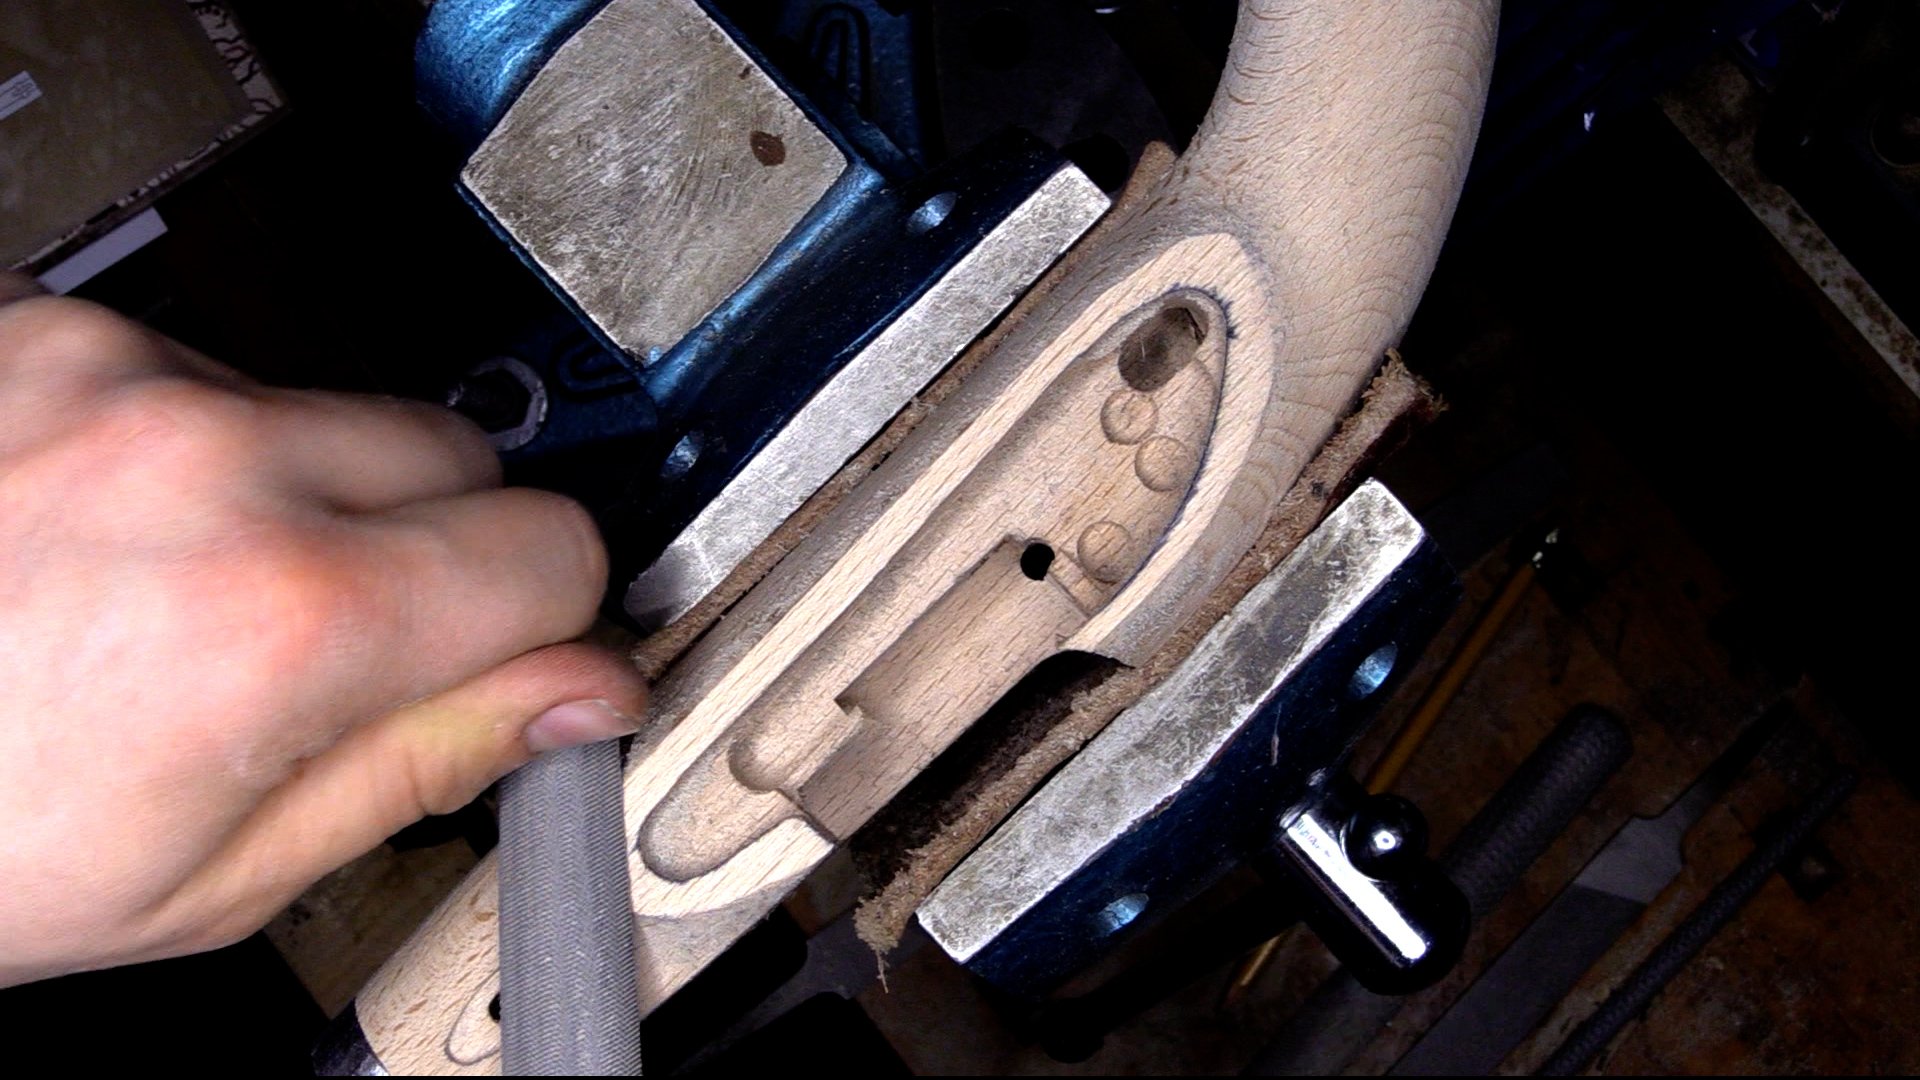
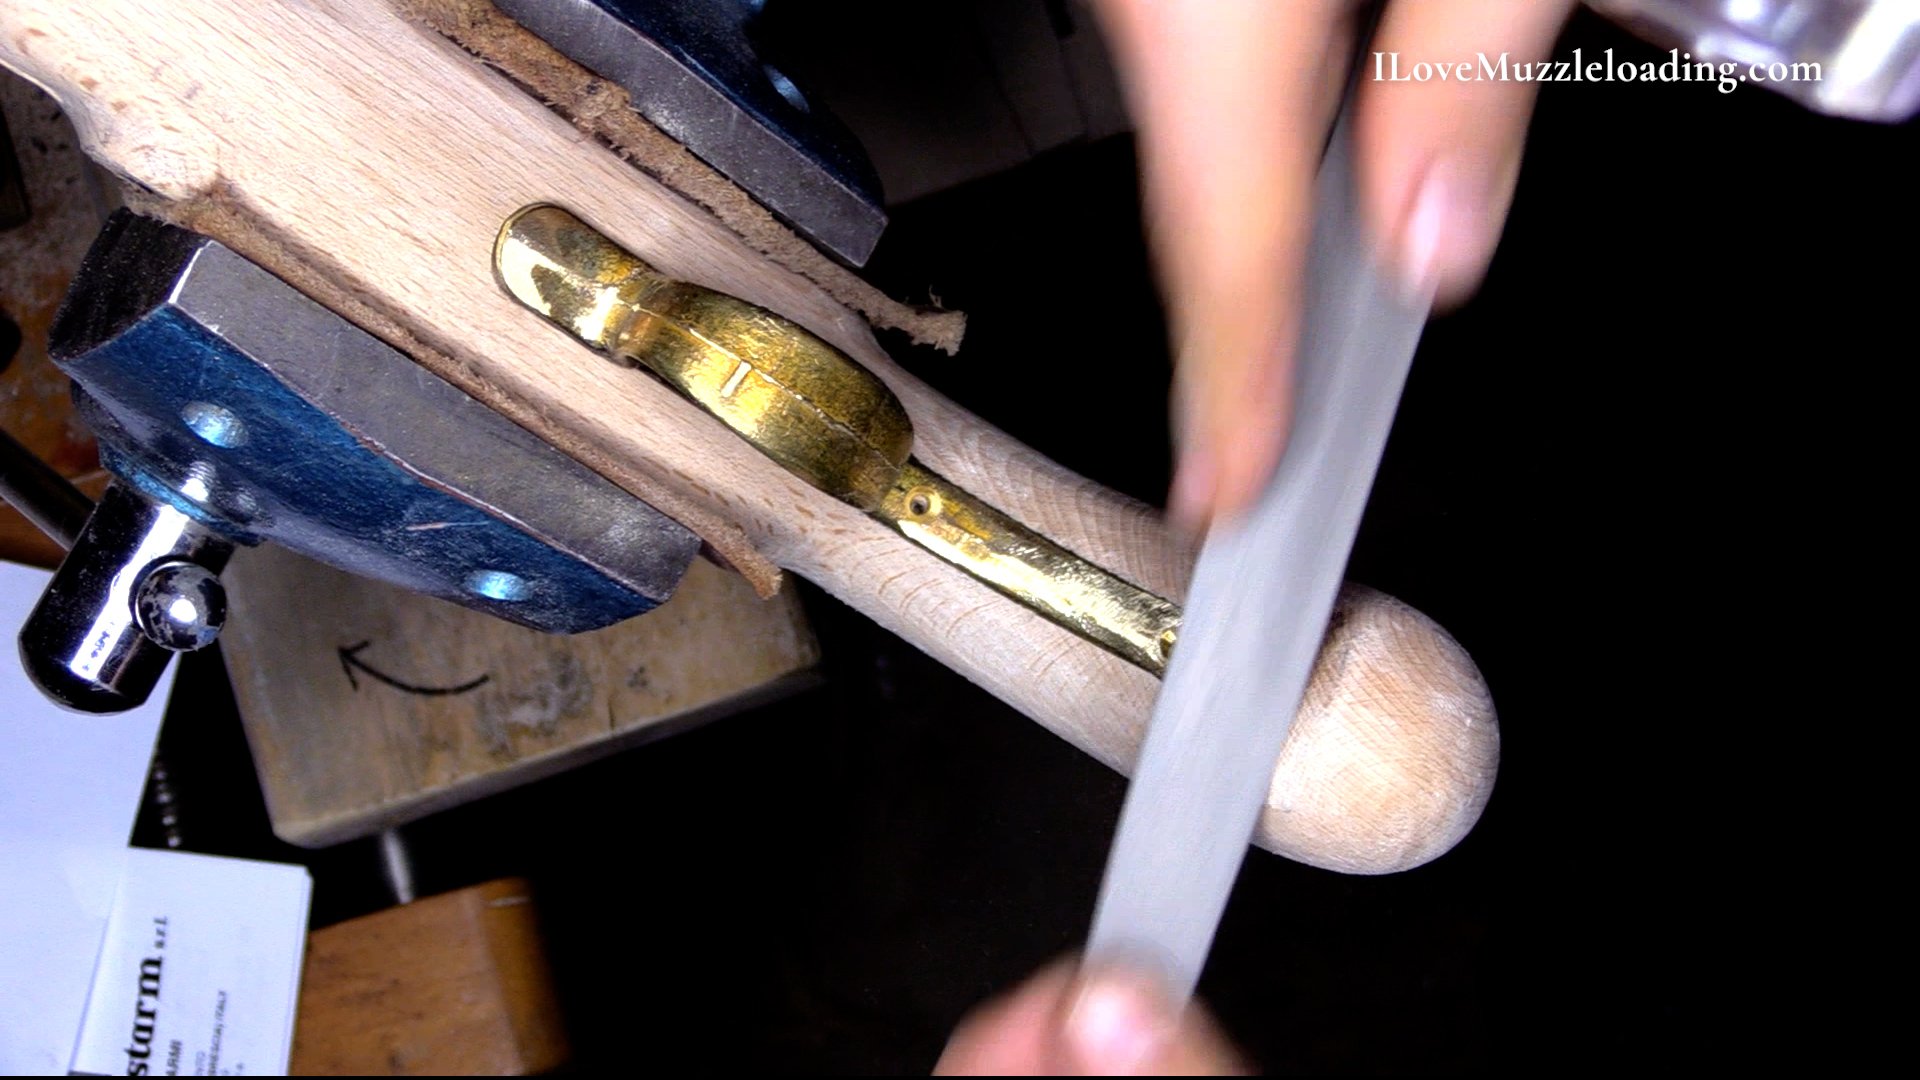
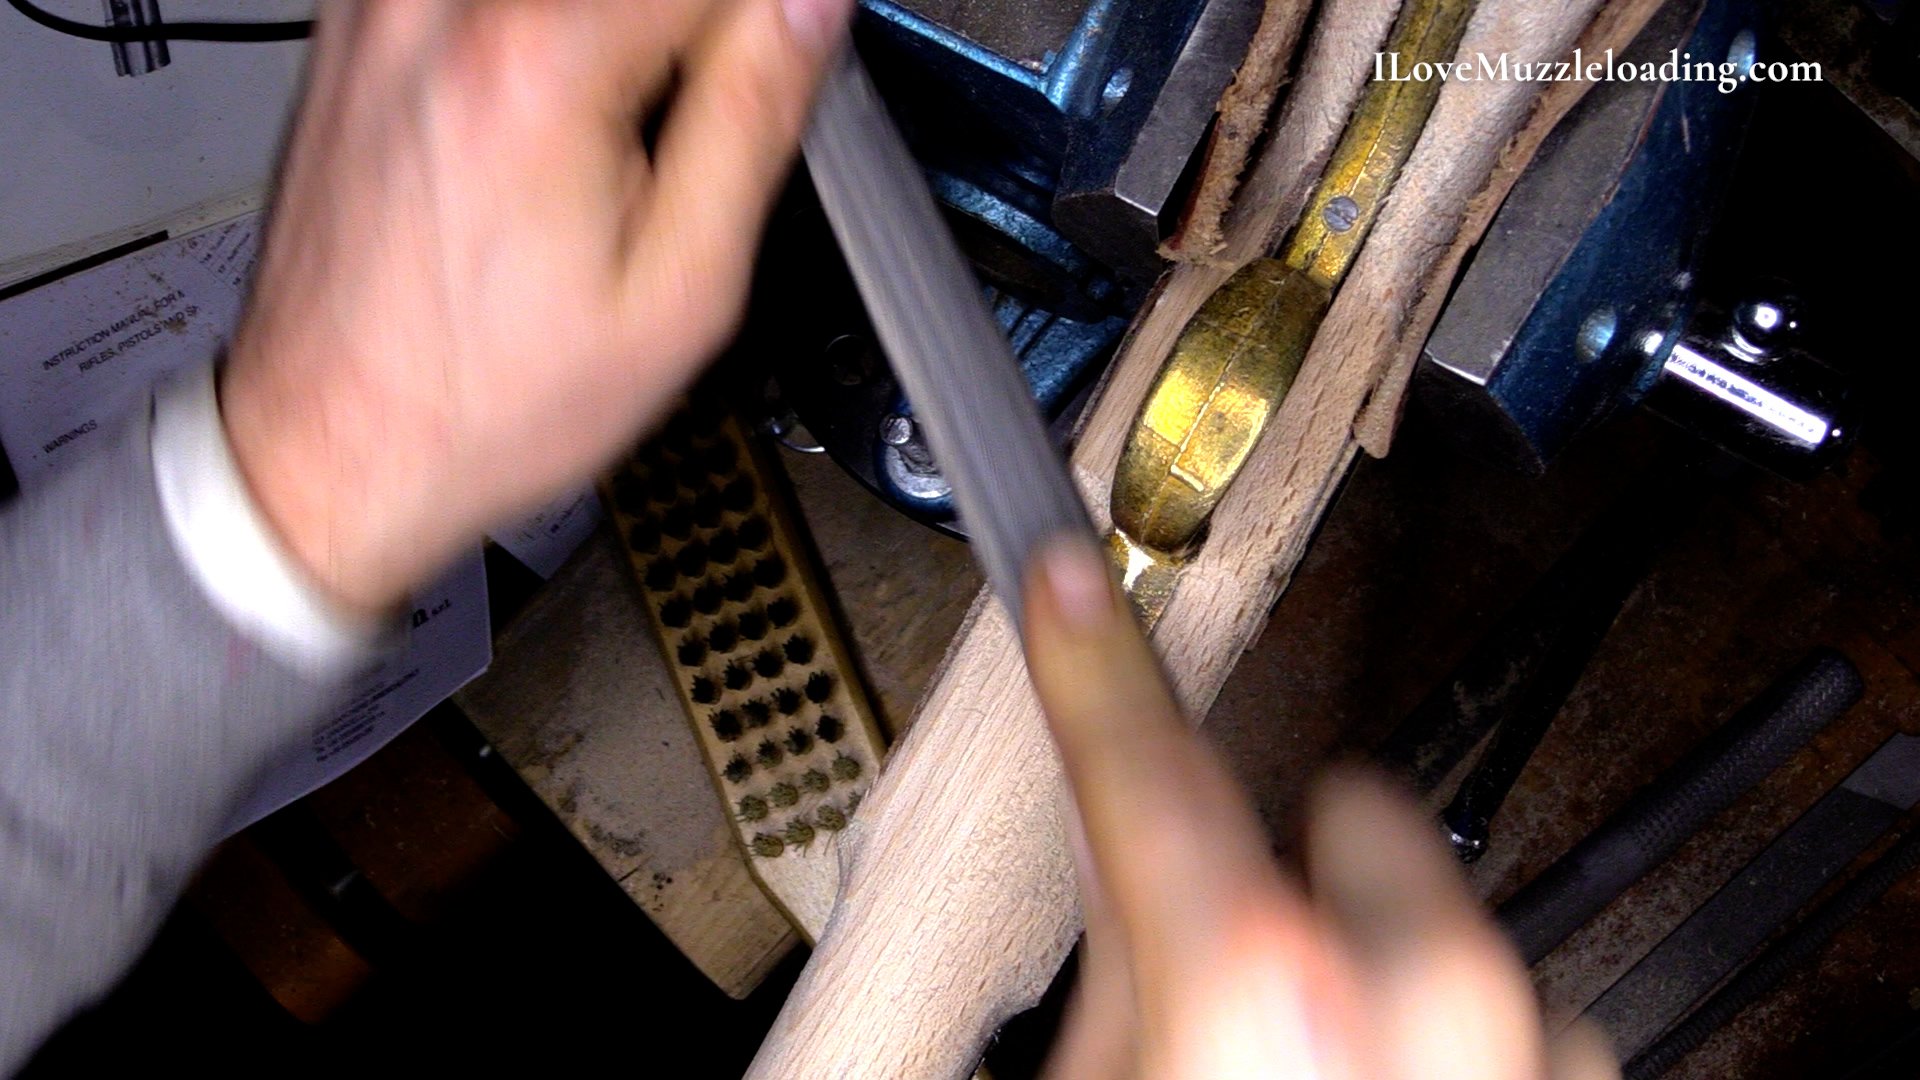
The kit comes 80% assembled, the metal hardware is all fitted to a good degree, the barrel is inlet and the nosecap, underrib, ramrod pipes, triggerguard, trigger group, belt clip, and lock washer are all inlet and installed.
The wood stock comes very rough. The stock shows signs of being on a duplicator for rough shaping, but there is a lot of wood for us to remove to turn this into a nice blackpowder pistol. The lock and side plate panels are separated by a single tool cut from the rest of the stock and could come more defined to aid a newer builder. We also have excess wood to the rear of the fore-end barrel key escutcheons that will need removed.
Overall I’m pleased with how the kit comes. Excess wood is easy for a new builder to remove and the kit having all the pieces inlet is great for someone looking to get started.
The one thing I’m not happy about is the packaging for the kit, almost all of my small pieces were out of their plastic bag and I was missing an escutcheon screw that I will need to replace. Muzzle-loaders.com will replace this screw for you, so no problem, but it is frustrating to have to wait for find a replacement as a result of poor packaging. A stronger bag, quality assurance, or better packaing could solve this problem, if it is a problem for other kits being shipped.
In addition to the packaging, the InvestArm website states the kit is made with a European Walnut stock, I don’t think mine is. The grain structure and wood behavior while working is much more like the Beech wood stocks we see in other budget friendly kits.