Trigger Disassembly, Clean Up, and Anatomy | Investarms Gemmer Hawken Build Part 17
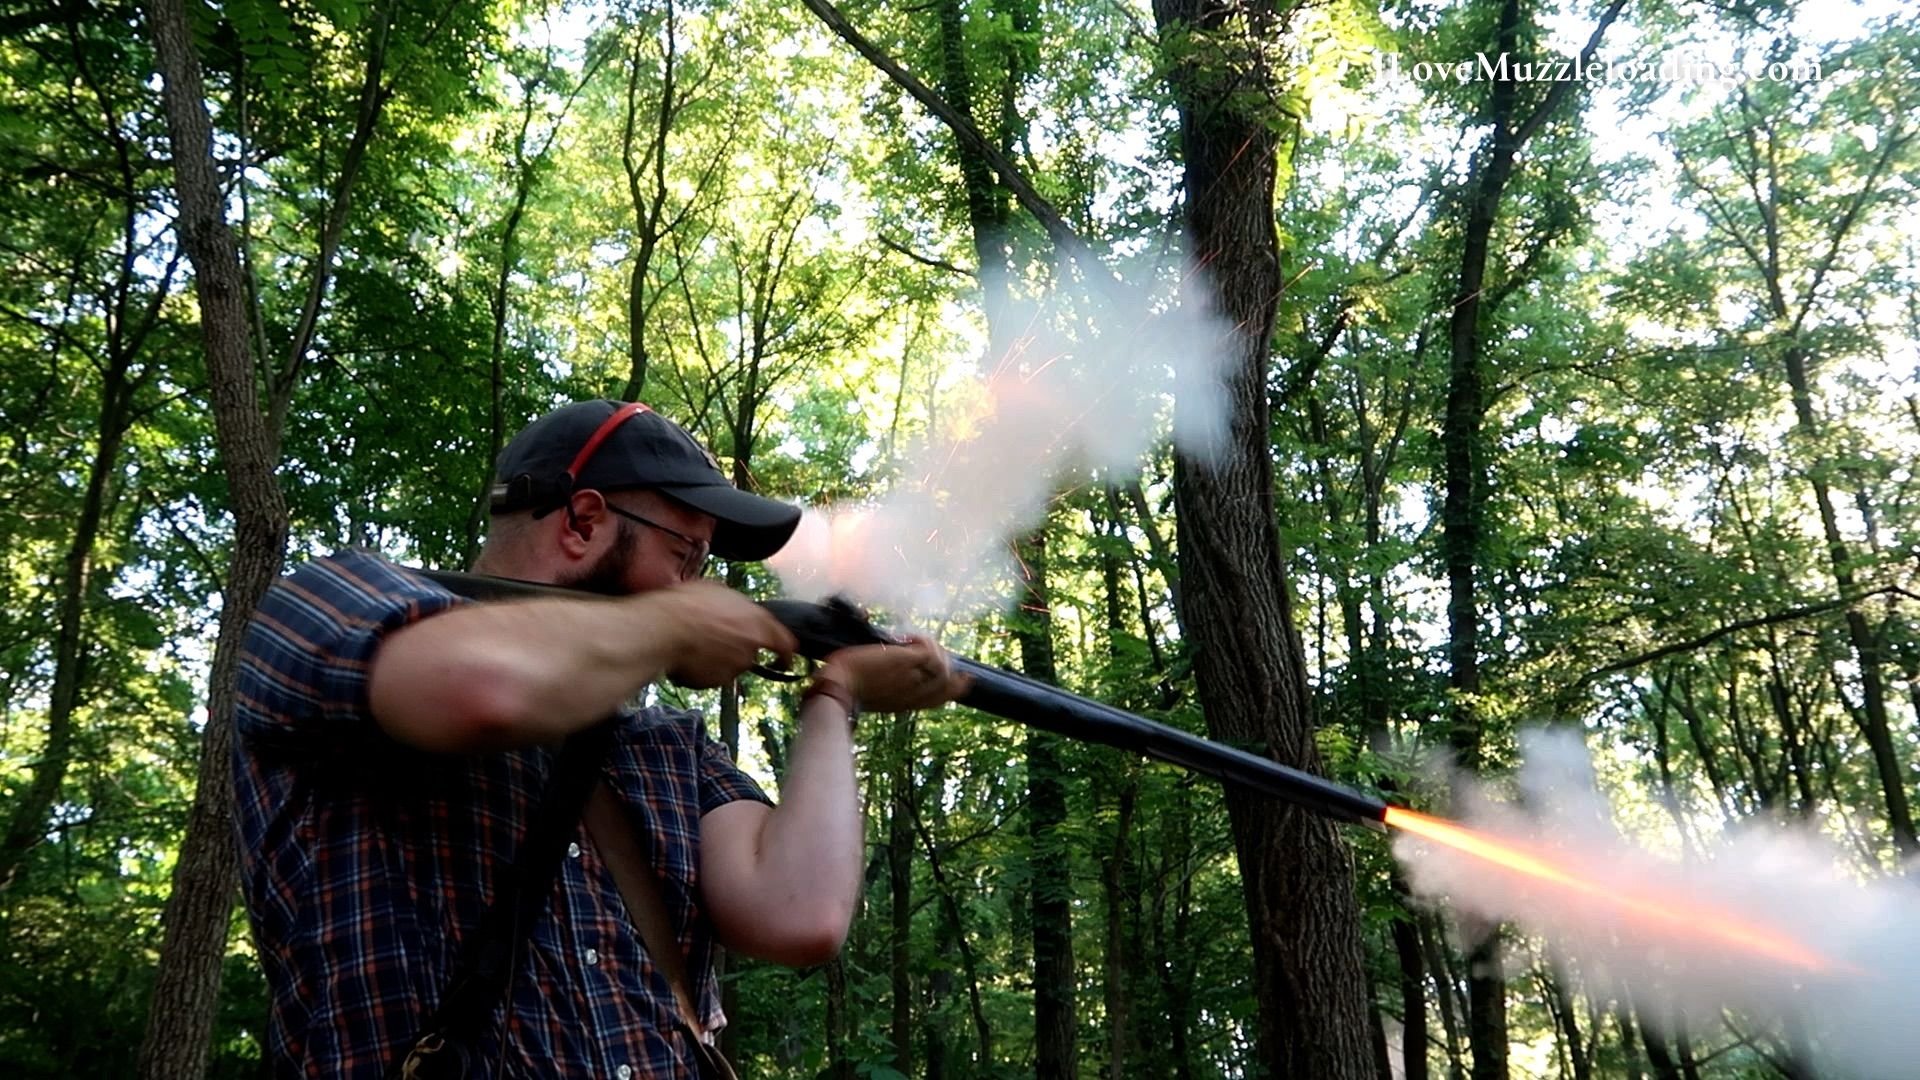
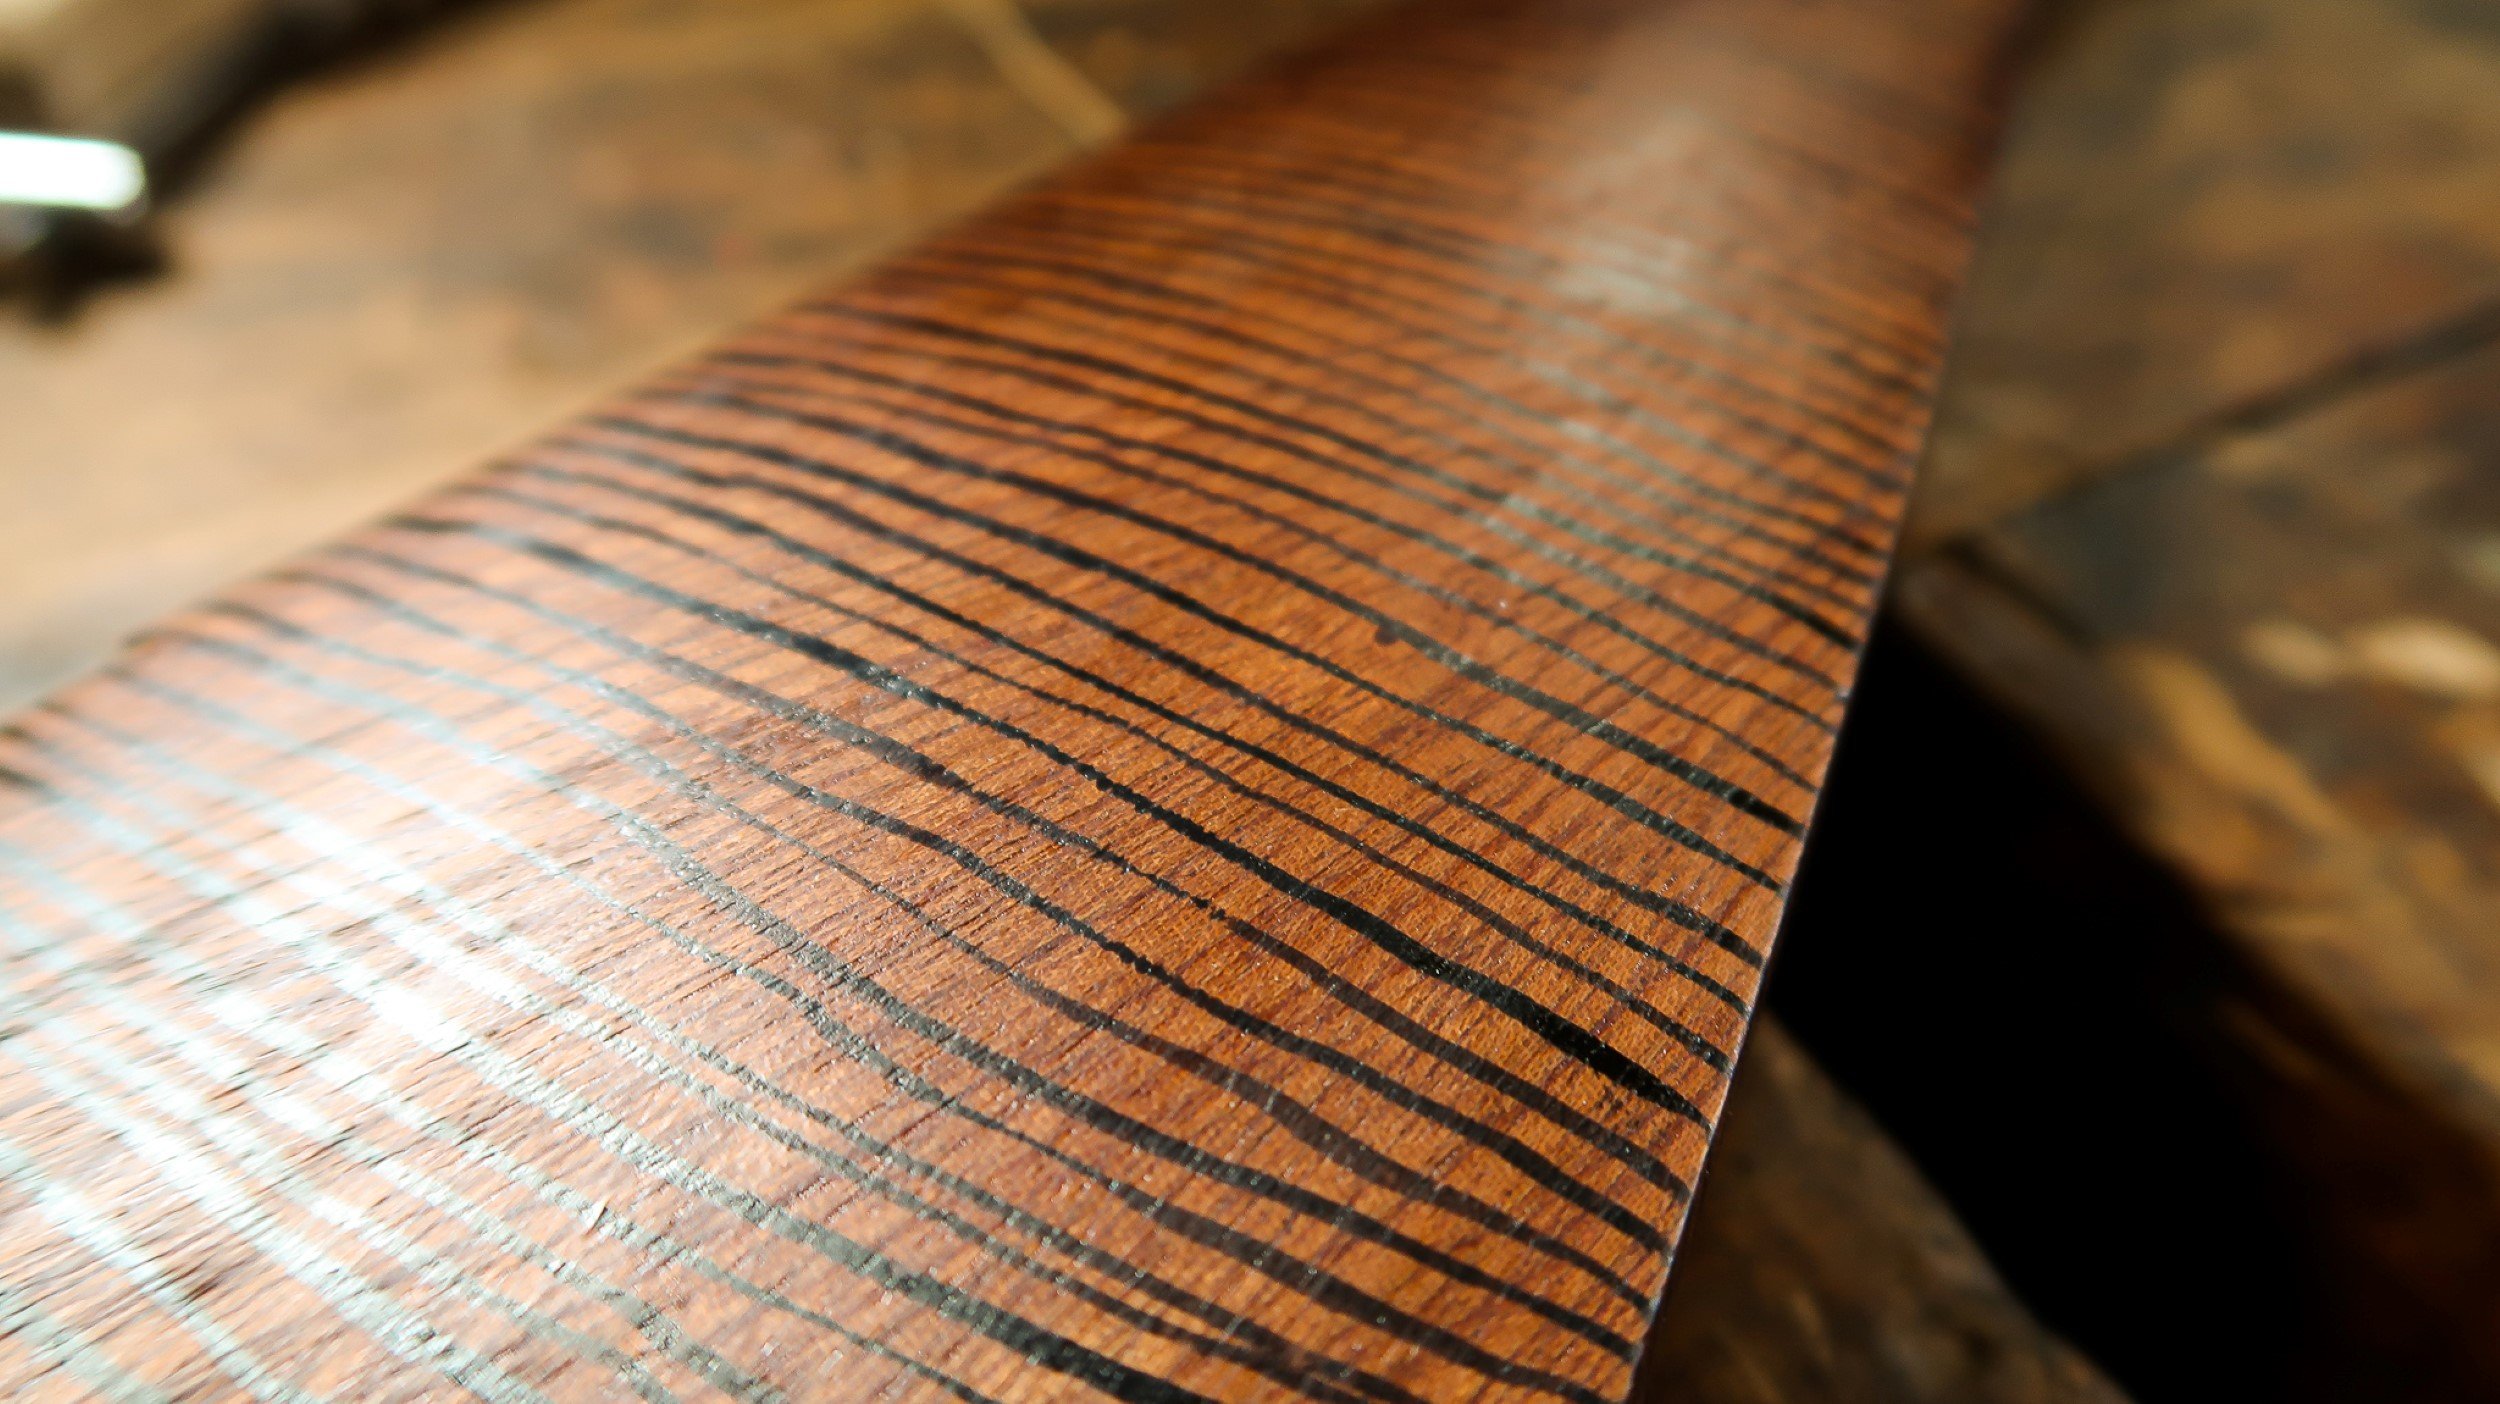
Today's short video shows you how to disassemble the InvestArms Gemmer Hawken Trigger Assembly for easy cleaning and finishing. I also show you how I polish the trigger plate, and trigger faces so we can prepare for our browning solution. It's always best to keep the parts for your trigger together, so I recommend using another small plastic parts bin to keep track of these parts.
If you have any questions about this kit or the techniques I'm using, leave them in the comments below. I will address as many comments as I can in videos associated with this series to give you as much detail as I can about the answer.
Hawken Resources: http://hawkenrifles.com https://www.thehawkenshop.com/hawken_rifles.htm
The BEST Book on Hawkens and their history https://www.trackofthewolf.com/Categories/PartDetail.aspx/277/1/BOOK-HR
Join the CLA today to learn more about longrifle artisanship - longrifle.com/
Join the NMLRA today to learn more about muzzleloading - NMLRA.org
Click here to SUBSCRIBE - http://bit.ly/ILMvideo
I purchased this kit but did receive a discount from Muzzle-Loaders.com . My review and content will be unbiased and honest. If you have any questions about this, please let me know in the comments so I can answer publically and transparently.